An effective and affordable way to transform a car is with your own hands. There is a wide variety of ways to modernize optics, among which are especially popular - linings (eyelashes), tinting with paint, LED type, and others.
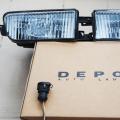
Conversion of headlights based on the use of overlays
The most economical way to give your car a unique look is to use overlays.
The upper part of the optics border is covered with special overlays (cilia), which in turn act as a continuation of the headlights. This optics upgrade gives the car a more aggressive look. The shape of the overlays can be very different and depends on the creative decisions of the owner. They can be made from decorative film or plastic.
The cover is easily mounted. First, you need to cut any suitable shape from the profile, after which it is attached to the headlight area using double-sided tape.
For manufacturing, you can use both fiberglass and epoxy glue, which allow you to get the maximum effect. It is recommended to remove the headlamp and seal it with a special protective film (masking tape is suitable). We fix the fiberglass on the scotch tape and cover it with glue. It is necessary to apply several layers of glue with each layer drying.
Next, on the last layer, apply masking tape and press down with a heavy object. As a result, we should have a blank that repeats the shape of the headlights, which must be left alone for a day - to dry the glue. After drying, mark the desired configuration on the workpiece with a marker and cut it out. The workpiece is processed with sandpaper, primed, painted. As a result of the operations performed, the car acquires an original appearance, and if desired, such linings can be easily dismantled.
Video:
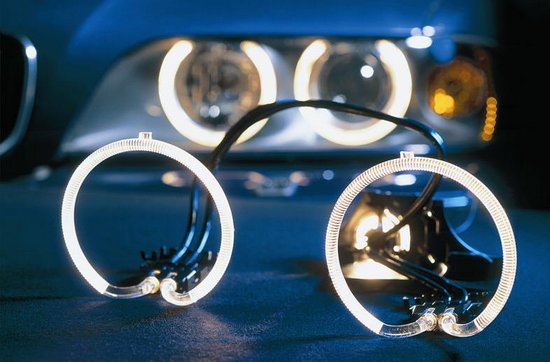
Retrofitting headlights with LEDs
In order to give the headlights an attractive look, you can use a material such as LED strip. How to make LED headlight tuning with your own hands ("angel eyes") quickly and easily?
It is performed quite simply, for this you need to prepare the following materials:
- tubes, which must have a transparent appearance and be made of high-quality plastic. Such products can be taken from the design of the blinds;
- 220 Ohm resistors in the amount of two pieces;
- LEDs with a power of 3.5 volts (4 pieces are enough);
- knife and pliers;
- drill with cutting wheel;
- fastening wire;
- soldering iron;
- insulating tape;
- 9 volt battery;
- stencil to create the required circle. For these purposes, an ordinary bank may be suitable.
At the first stage of work, it is necessary to make a blank from a plastic pipe. The pipe must be heated with a hair dryer to such an extent that it can be bent. The tube must be bent around the stencil, such as a can, using pliers.
Once the material has cooled, the ring can be removed. The edges of the ring are sharp, so they need to be sanded with a drill. The end result is a round billet with a gap of several centimeters, which is ideal for the size of the headlights.
Around the entire circumference of the resulting ring at a distance of 4-7 mm, it is necessary to make notches, which then need to be deepened by 3-4 mm using a drill.
At the next stage of work, we take a soldering iron in our hands and attach a wire to the LED. This procedure must be done with each LED leg. We attach a resistor to the second wire. In order to check the quality of the work done, we need a battery. If everything is correct and the LEDs emit light, then it is necessary to insulate all connections with electrical tape.
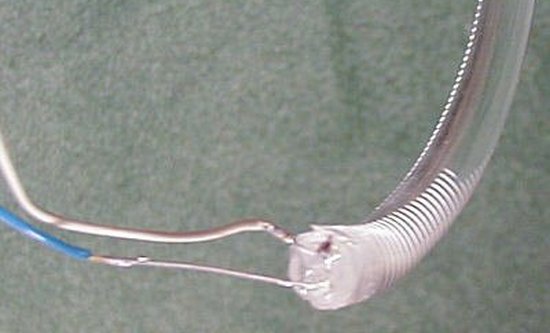
Thus, it is necessary to prepare all the LEDs, and then combine them into one common structure. We should end up with two LEDs pointing in opposite directions.
LED optics tuning is resistant to various climatic changes and provides a high level of safety. The LED structure must be inserted into the previously made plastic ring so that both ends are opposite. Next, it is recommended to connect a battery to test the performance of the ring. If everything is done successfully, then the resulting structure should glow.
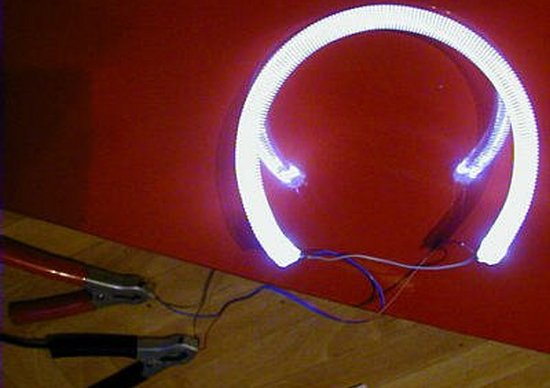
With this simple method, you can effectively transform the car, giving it a new updated look. However, this type of DIY tuning is most relevant for round headlights.
Video: how to make "angel eyes" yourself.
How to upgrade your car with LEDs?
Additional attractiveness to the car is given by LED. LEDs are mounted in the body, located under the sills and bumpers.
DIY LED tuning of a car can be done simply. To work on converting a car, you will need the following tools:
- plastic pipe with an approximate diameter of 40-50 mm;
- plexiglass (plexiglass);
- high brightness LEDs;
- copper-plated wires;
- 500 ohm resistor;
- glue "Moment";
- transparent silicone.
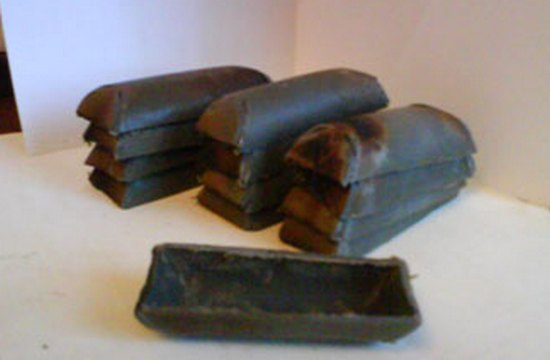
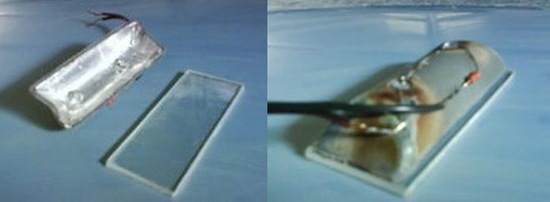
The first step of the work is to make a case in which I will mount the LEDs. For optimal performance, it is advisable to install three pieces on the front and rear bumpers and about the same on the car sills.
The pipe must be cut with a hacksaw into separate cylinders 50-60 mm long. The cylinders are sawn again only longitudinally. At each end of the workpiece, a cut must be made at an angle of 25-35 degrees.
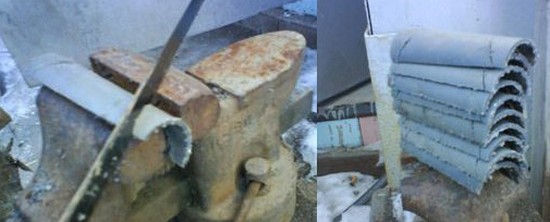
The edges of the workpiece must be heated. Under the influence of high temperature, they become soft and bend easily. We bend the workpiece in the shape of a boat, and clean all sharp and protruding edges with sandpaper.
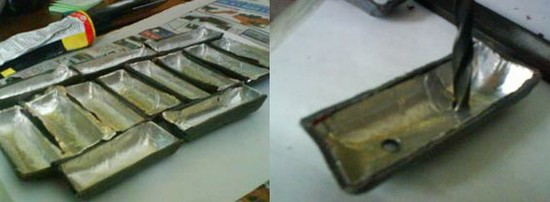
Use a drill to drill small holes to accommodate the LED and fastener. The workpiece must have a reflective surface inside. To create it, it is necessary to glue a cut-out foil on the inner surface. It is better to use Moment glue for this. A hole must also be made in the foil.
Next, we start working on LEDs. In order for them to evenly spread the light, it is necessary to cut off their end a little. Sawing removes the lens and the glow is then pleasantly diffused.
The two LEDs are connected in series and connected to the vehicle system with a resistor. In this case, it is necessary to control the polarity of the connection.
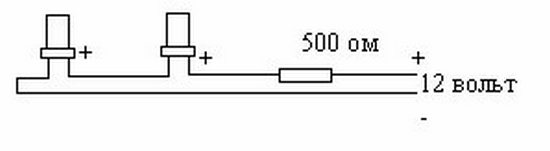
LEDs need to be soldered like this
After the soldering is completed, you can start installing the protective glass, you need to glue it to the boat and treat all the cracks with transparent silicone.
The backlight is attached to the car using self-tapping screws or sheet metal. The LED body is installed in a place inaccessible to the eye, creating an invisible glow effect.