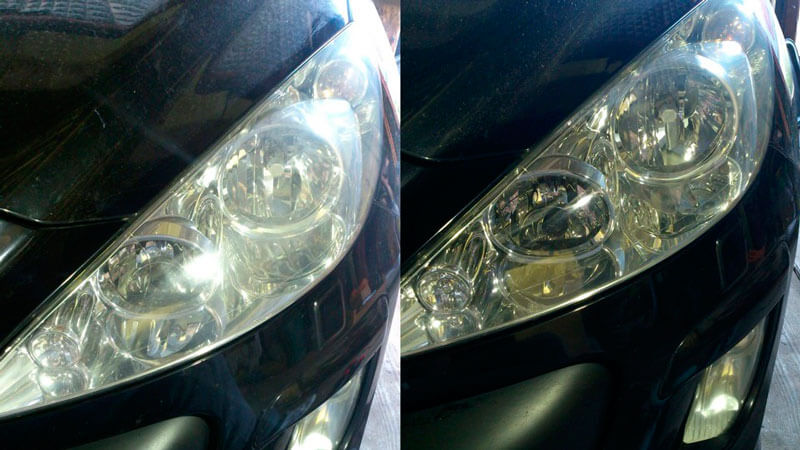
DIY headlight polishing an effective and economical solution to the problem of poor road illumination with headlights. The once clear rays of light, piercing the darkness for an impressive distance and clearly illuminating the road, turned into dull spots that create visibility only 3-4 meters in front of the car. The reason is not in the lighting elements, and not in the misaligned headlight adjustment, it is necessary to polish the surface of the headlights.
There is no need to waste time and money on replacing bulbs and adjusting the light beams - this will not improve the situation much, the only way out in this situation is polishing.
Why do headlights shine worse over time?
Like any part of a car, optical instruments are subject to wear and tear. This results in tarnishing of glass or plastic. In this case, it is more difficult for light to penetrate through a dull coating, its refraction changes. What leads to this?
Many people think that regular car washing is insurance against cloudy headlights, but it's not entirely about cleanliness.
While driving, small and not very particles hit the surface of the headlights. As a result of the blows, small damage is formed, which becomes noticeable over time.
It will not work to eliminate them with the help of ordinary washing with water or chemistry. The only way out of the situation is to buy new headlights or polish them. The second option is much more economical, while improving the operation of optical devices by at least 40%.
Why polish your headlights? Video:
Why is polishing your headlights at home beneficial?
First of all, doing this process on your own will save you a significant amount. The second reason is quality. The car owner himself will polish the headlights with the utmost diligence, will follow the technology so as not to damage the surface and achieve an ideal result.
Such a guarantee is not given by contacting the service station. Here, the procedure can be partially performed, which will lead to a rapid clouding of the headlights.
It is believed that glass headlights must be polished by professionals, while plastic can be restored by yourself.
This is a misconception, with strict observance of the polishing technology, the material from which the optical device is made does not matter as well as the cost of the car. Everyone can carry out this procedure and get the result no worse than at a service station. The exceptions are cases when there is not enough time or money is not a pity.
To clearly show the economic benefits of self-repairing the surface of optical instruments, you need to find out how much does headlight polishing cost.
The average price depending on the region varies within from 20 to 40 dollars... It should be remembered that the price in most cases determines the quality.
A headlamp polishing kit costs only $ 20 and lasts an average of 3 treatments. Taking into account that it is necessary to restore the shine and transparency of the optical devices of a car during its intensive use at least once a year, at least threefold savings are obtained.
How to polish your headlights with your own hands?
There are several ways headlight polishing at home... In terms of the use of equipment, there are only 2 of them:
- Mechanical polishing.
- Manual.
In terms of the use of materials and devices, there are much more of them:
It should be noted that the technological process for all methods and means is the same, except for the cases of using firing and razors.
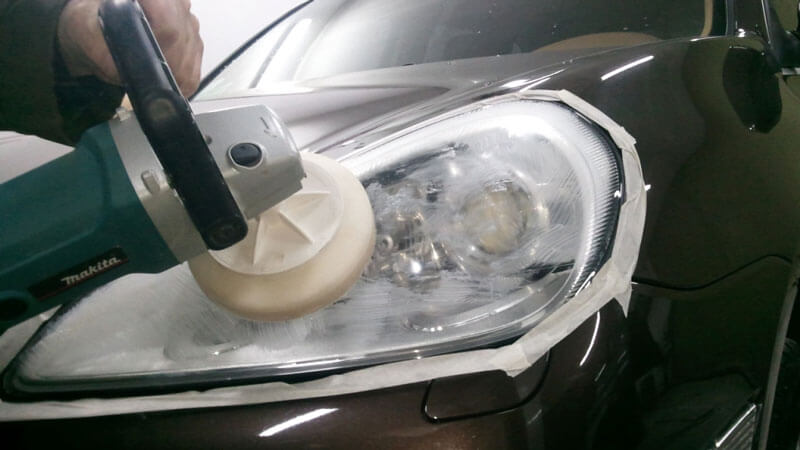
Mechanical polishing uses grinders and other power tools. So, to the question: « How to polish plastic headlights?» There are many answers, but not all of them are equally effective.
A simple way to polish headlights, video:
Technological process
DIY headlight polishing at home most effectively carried out with the help special kits... Compared to other methods, this one gives the maximum possible result, which lasts for a long time.
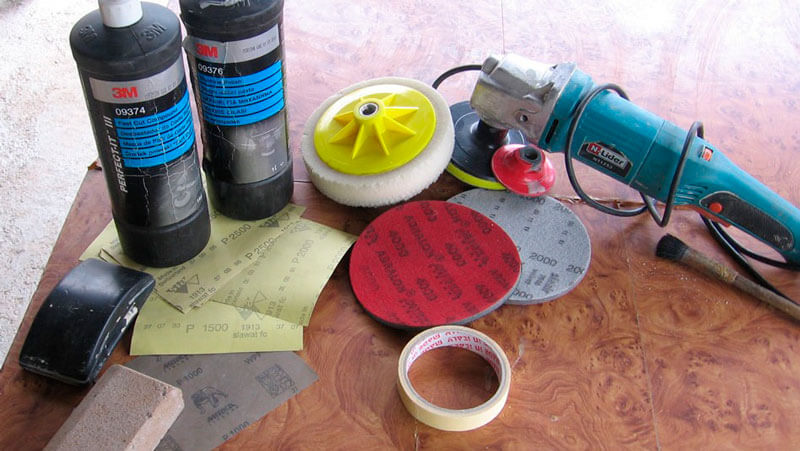
So what you need to polish:
Kits for mechanical and manual polishing of headlights differ in the complete set. Mechanical include:
- Special paste
- Activator.
- Headlight varnish after polishing.
- A set of polishing wheels of various grain sizes.
- Adapters for installing wheels on a power tool.
- Protective tape for pasting headlights.
Hand polishing kits consist of:
- Activator.
- Polish for headlights and transparent plastic.
- Headlight finishing agent - varnish.
- Sandpaper - 400, 1000, 2000 (approximate grain size, there may be others).
- Napkins.
- Vinyl glove.
The main process is preceded by a preparatory stage. The headlamp must be thoroughly washed with water and wiped dry.
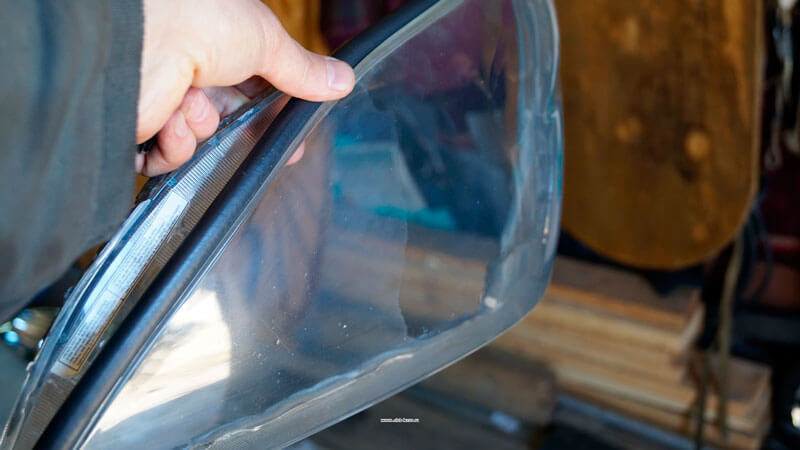
The rubber seals between the body and the headlight are also cleaned. This is done using vinegar diluted in water or special chemicals designed for car care.
The use of other means can damage the structure of the seals and lead to their delamination.
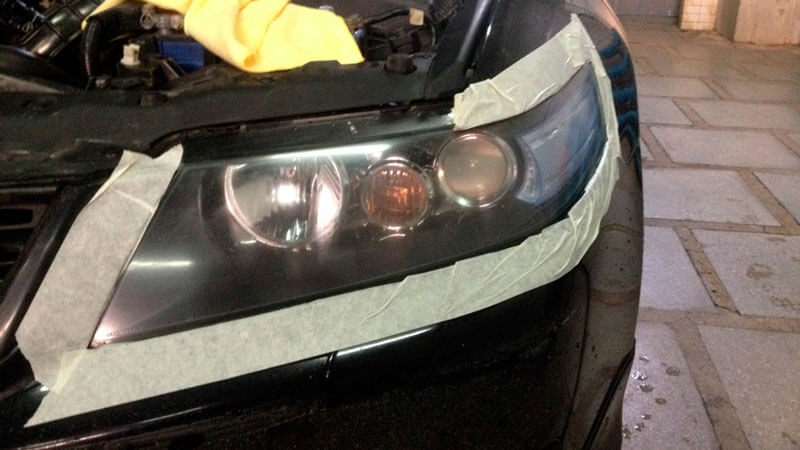
After that, the headlight is pasted over with masking tape or electrical tape, preferably in 2-3 layers. This is necessary to prevent damage to the body paint when machining the surface of the optical device.
Now you can start the main work. First, an activator is sprayed onto the surface of the headlight ( as a rule, the labels on the packaging are made in English, but for greater convenience they have numbers on them indicating the sequence of application of the substances). After that, you need to wait 20-30 minutes.
Over time, you can start machined headlamp surface... This is done sandpaper or grinding wheel with the largest grain size, in this case it is 400.
Processing is carried out in a circular motion for 5-10 minutes. The edges of the headlights must be carefully cleaned with longitudinal movements.
Many sources advise, before starting polishing, to carefully examine the surface of the optical device for deep damage - scratches. If present, remove with a grinding wheel without the use of special substances ( activator). In this case, the thickness of the layer that can be removed is indicated in the range from 1 to 10 mm, which is absurd.
After the end of the first stage of polishing, the headlights are thoroughly washed with water and wiped off. Also, 2 more operations are carried out using the remaining sandpaper and wheels. In this case, it is first 1000 and 2000. As a result, after 3 stages of machining you should get a smooth, cloudy surface.
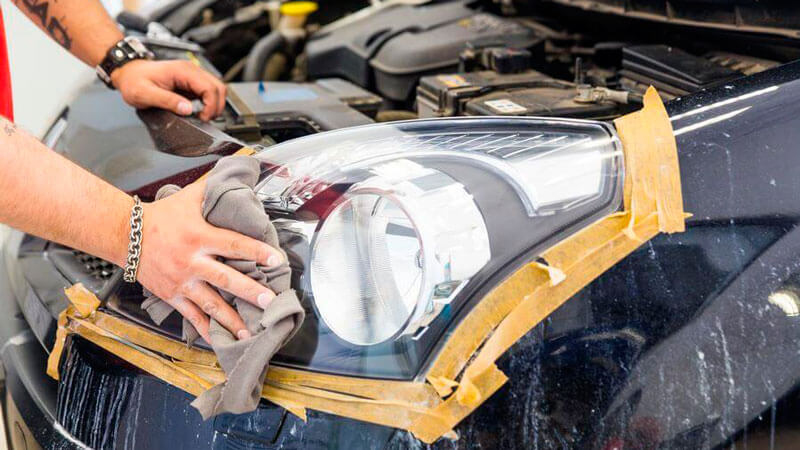
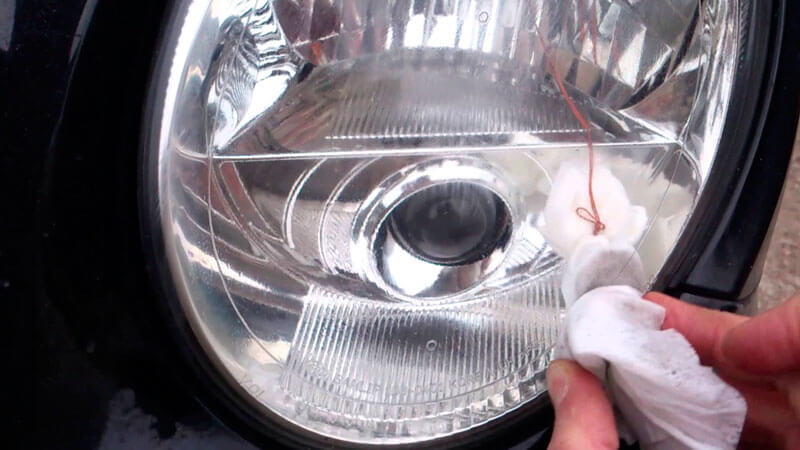
Now you can start polishing your headlights. To do this, on the grinding wheel, and in the case of a manual process, apply polishing paste... Then it is rubbed into the surface of the headlight, which takes an average of 5 minutes. When this process is completed, the remaining paste is washed off with water and the surface of the optical device is carefully wiped dry.
The next step is to re-treat the headlights with an activator. It is necessary to wait 2-3 minutes and repeat the operation with washing and wiping. The final polishing operation is to cover the headlights with a protective agent - varnish.
It is applied to a napkin and in longitudinal movements is applied in an even layer to the surface of the headlight. Protective coating is mandatory to keep the headlamp clear for a long time.
Everything, optical devices shine like new again.
It is advisable to sparingly use the materials from the kit so that they are enough for several polishes. This applies mainly to special tools: activator, polish, varnish... All other consumables: sandpaper, paper, protective tape, gloves can be purchased additionally, their cost is low. On average, one set is enough for 3 polishes.
When working with varnish, you must wear vinyl or rubber gloves, they can be in a set or you can buy them. This harsh chemical can cause irritation and even burns if it comes into contact with the skin.
We polish the headlights with our own hands, video:
The nuance of the mechanical polishing method
Use a power tool very carefully. High revs and strong pressure can damage the surface of the headlights. They can be thermal or mechanical. Therefore, it is recommended to carry out light polishing at medium speed... The manual handling in this part is somewhat simpler.
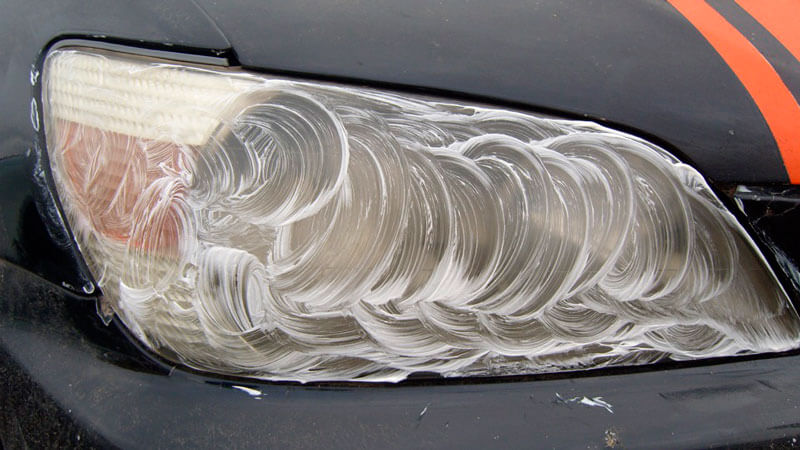
Headlight polishing with toothpaste
You can polish the optics of your car with a regular toothpaste. This is a less complicated technological process than was described above, but, as a rule, it is ineffective, does not restore transparency completely and for a very short time.
It is necessary to pre-wash the headlamp, after which toothpaste is applied to it and rubbed for 5 minutes until dry. It is advisable to use felt as a rubbing material.
After machining with the paste, leave it for 15 minutes. After the time has elapsed, you can wash it off. The surface of the headlight has become transparent and smooth, but the yellowness remained in places.
Polishing with goi paste
This requires the paste itself, a soft grinding wheel and a grinder ( angle grinder). The paste is evenly applied to the surface of the circle by running it at low speed and bringing a piece of paste to it. Everything is now ready to start polishing.
This is a quick method, it is more effective in terms of the result than the paste version, but its duration is also short.
The method of polishing with a razor and firing is not worth considering. These are the most outdated and ineffective technologies, moreover, hazardous to health, their use can lead to injuries.
How to polish the inside of the headlight?
What if after polishing the headlights remain dim and diffuse? There is no need to panic and buy new optical devices. You just need clear the inside of the headlight.
Despite the relative tightness, dirt gets into the block, it leads to clouding of glass or plastic, although it causes less mechanical damage than on the outside.
Headlight polishing from the inside associated with certain technological difficulties, since you need to remove the headlight and disassemble it. Without the appropriate skills, it is not recommended to do this, it is better to contact specialists. Otherwise, you can stay with a non-working, but polished from the inside headlight.
The actual technological process is not much different from the processing of the outside. To penetrate the bends, it is necessary to apply various conical foam pads... They can be installed on a drill or screwdriver. All other operations are carried out in the same sequence.
Exists an effective way to clean the headlights from pollution from the inside without the use of significant physical effort, power tools and special substances. Take a soft cloth, liquid dish detergent, and plain water.
It is poured into a plastic or glass block, a rag is placed on top and detergent is added. After that, with swinging movements from side to side, move a rag with water along the inner surface of the removed headlamp for 30-40 minutes.
This leaves a clean, transparent, shiny surface. This method is effective when the inner plane of the headlamp is dirty without mechanical damage. It allows you to maintain the structure without removing the layer of plastic or glass.
Is it possible to polish the inner surface of the headlight without disassembling it?
Yes it can be done. There are several ways, one allows, in general, not to dismantle the headlight. Let's immediately consider an option that allows you not to remove the headlight glass, to disassemble it.
1. Foam pieces are placed inside through the technological hole. After that, with the help of a stream of air, they are chased inside the block and delicately remove dirt. True, you have to work hard when removing the foam rubber from the headlight.
2. The second method does not involve dismantling. Through the technological hole ( often this is the location of the low beam lamp) inside the headlamp is placed small magnet wrapped in soft cloth, tied with a strong thread or wire ( necessary to remove it from the headlight).
From the outside, a magnet is brought up, also wrapped in a cloth, it attracts the inside, after which the inside of the headlight is cleaned in a circular motion. This method is not effective if there is no yellowness and turbidity.
This is perhaps the most complete answer to the question: "How to polish plastic headlights yourself?" ... The application of the above information will save a day, and may even earn money by polishing the headlights of others.