Hello!
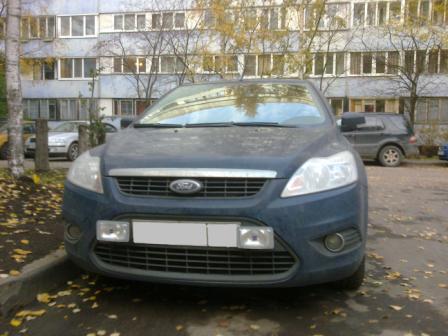
A little about installing additional headlights high beam... on FF2 Restyle
I did not find any information on the forum, so when I did it myself, I decided to write, suddenly someone will come in handy
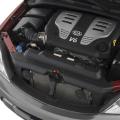
(Unfortunately, I took the photo after the end of the work, so what is inside is not visible, well, you can't take it back)
I'll make a reservation right away - I put it not for beauty, but because I travel a lot long-distance. those. so that the road shines, and not the soul warmed :-)) how it will look - did not really matter.
On official dealer they refused to put me, they said that they did not have such a job - to fix additional. headlights.
They only agreed to lay the wires. True, I had to do it myself anyway, but it doesn't matter anymore. - there is paper, which means the guarantee is alive
The fastening had to be done by the collective farm myself.
What requirements were taken into account:
1) the headlights must be rigidly fixed to the supporting steel elements (otherwise they will shake)
2) The integrity of the external elements of the am. (bumpers, fenders, etc.) must be preserved, since the am is a service one, and then it must be taken.
In the course of studying the structure of the front end, the front plastic panel-insert into the bumper (the one on which the number is attached) was removed, and under it the BINGO !!! special brackets "ears" with 10mm holes were found on the power steel crossbeam.
Note the dealer is not aware of them!
Further a matter of technology:
Try on the correspondence of these "ears" with the point at which you need to drill the plastic panel insert and drill a 10mm hole at these points
Then drill a wide hole with a core drill (I'm not sure what it is called).
What is a wide hole for:
1) allows you to correct the inaccuracy of the first drilling.
2) allows the plastic bumper to move freely ("play") relative to the beam while driving on irregularities. This is inherent in the design, so the bumper and beam must not be rigidly tightened with the headlight mounting bolt.
With a wide opening, the headlights are attached only to a rigid steel beam and do not come into contact with the bumper.
3) Allows you to insert wonderful rubber plugs from the VAZ-2108 into the holes (15-20 r at any car market) 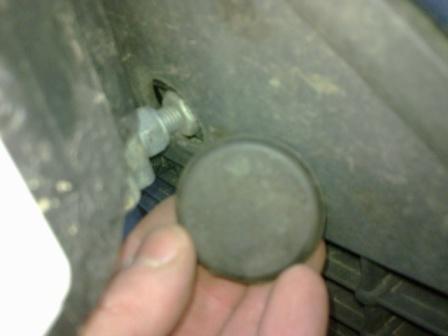
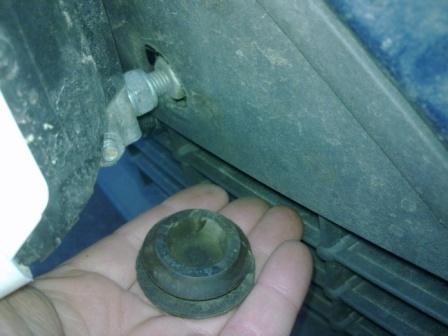
Those. if you then remove the headlights and insert these plugs, then on the outside of the car there will be only two neat rubber circles, and in a plastic panel that can be easily and budget replaced.
Accordingly, I chose the core drill just under the plug (28 - 32 mm. I don't remember exactly)
To fix the headlights in the brackets on the beam, the bolts from the headlight kit (M10 with square heads) are not suitable (short)
It took two ordinary bolts M10X100 plus 3 nuts each (well, washers, grovers)
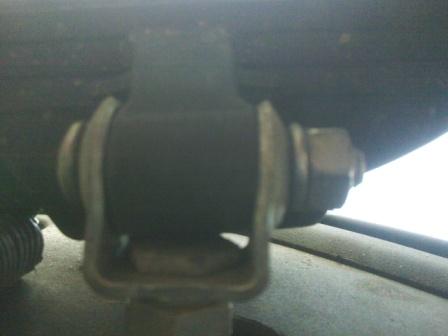
The bolt heads had to be cut off with a "grinder" to the thickness of the bolt head from the kit for the headlights, since the head of a conventional M10 bolt is much thicker, and the headlight would not fit into place in its mount on the U-shaped bracket.
here, for understanding, a bottom view of a bolt with a ground head in a U-shaped bracket
Assembly orderthis tricky construction is as follows:
1) We put the U-shaped headlight bracket on the bolt.
2) Put on the washer and the grover.
3) We screw in the nut until it stops, which will press the headlight bracket to the bolt head (but do not tighten it yet)
4) We screw the second nut onto the bolt, but not completely (see figure)
and put on the washer.
5) We apply (but do not snap in yet) the plastic panel to the bumper
6) We push through the wide hole in the panel and the hole in the "ear" the bolt together with the elements put on it
7) We put our hand under the panel and from the inside we put on the protruding bolt from the inside: a washer, a grover and a nut.
8) Tighten all the nuts in their places, starting with the nuts securing the bolt to the "ear" on the beam.
9) We put on the headlight housing (without an optical element) on the U-shaped bracket and check that it stands in a horizontal position with a margin. (if not, release the nuts securing the bolt to the "ear" and increase the length by which the bolt protrudes from the bumper.
10) Repeat all points with the second bolt / headlight.
11) Connect the wires
12) We collect the headlights (housings and optical elements), check that the headlights are working.
13) We tighten all the nuts completely, snap the panel into place.
14) Adjust the headlight beam.
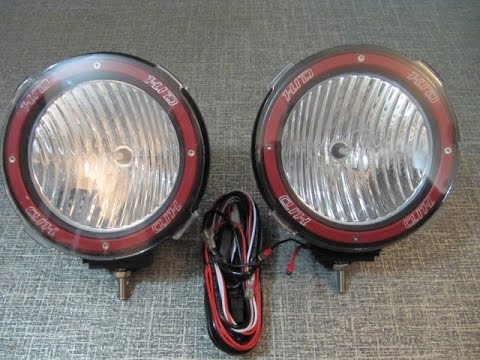
Lights: Hella Comet 450
Of course I wanted Rally 1000, or something more powerful, but:
1) I got them for a tasty price.
2) Large headlights - more weight, and the lever between the mount and the central unit. the headlights turned out to be decent - there were fears that they would dangle.
3) As it turned out during fitting, larger headlights would have covered the room.
What happened in the end.
In terms of light:
1) the headlights are held securely and do not shake.
2) significantly increased the illuminated distance.
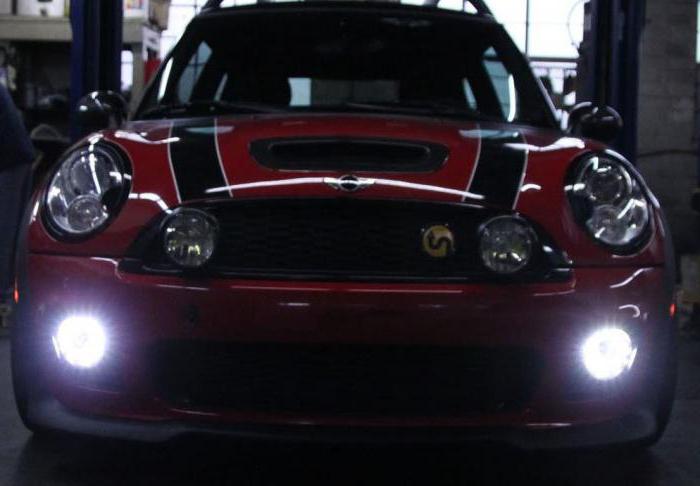
here is a photo:
B lizhny
Long-range staff
Far + dopa.

I took the photo as soon as I put it, in the yard, but on the highway, believe me, the difference is more impressive.
And whether it is beautiful or not - let everyone decide for himself.

More comments:
For the convenience of tightening the nuts from the inside, I removed the headlights from the car and pushed the key from there.
If there is a lift or overpass, you can remove the lower plastic cover between the bumper and the guard. Then, in general, it will be very convenient to drill and fasten. I didn't have a lift and I could do without it.
At the same time, you can throw out the unreliable frame of the number and screw it through to the panel with M6 bolts. Nobody except you can take it off now
Automotive optics play a critical role in terms of vehicle control and safety. The traditional set of its components are side lights, headlights, brake lights and turn signals. And it cannot be said at all that this set is preserved and exists in strictly specified parameters. The segment is regularly updated, the shapes, sizes and even the principles of lamp operation change - just remember the LEDs and xenon. A slightly different approach to revising the organization of light offers an additional headlight, which is increasingly included in basic configurations models of large auto concerns.
Arguments for additional headlights
The very idea of \u200b\u200binstalling additional headlights arose as a means of helping drivers in difficult weather conditions. The improvement in the luminous qualities of modern optics only slightly improves the quality of illumination in rain, snow and fog. And the means of additional lighting in this regard, of course, give only advantages. As a result, the additional headlight covers a large area of \u200b\u200bthe road, while not having a negative impact on the driving process itself in other ways.
Arguments against additional headlights
First of all, the introduction of an additional light source is the financial cost of purchasing it, assembly work and further operation. It makes no sense to purchase cheap optics for such purposes, since the effect will also be insignificant. And expensive powerful headlights additional light will also affect the power consumption of the battery. Here you can parry with arguments about the importance of safe movement, but is it so often, in principle, there is a need to connect this light source? And in this regard, each car owner must proceed from the operating conditions of the car within their own region. You should also answer another question - what type of additional headlight will be optimal?
Additional high beam headlights

This option is focused on use at night. Studies show that in the dark, even when connected standard set headlights, the driver's visual acuity is reduced by 10%. In turn, additional high-beam headlights compensate for this flaw, relieving eye strain. In fact, conditions close to daylight are achieved. This effect is especially enhanced in the case of xenon headlights... Firstly, this lighting option provides at least twice the luminous flux compared to halogen lamps... Secondly, xenon consumes one third less energy, which compensates for the lack of additional lighting in terms of energy consumption.
There are also several negative aspects worth noting. If we are talking about xenon, which will be the optimal solution, then you should prepare for significant costs, since it is not cheap. In addition, an extra headlamp with high beam may not always be installed due to the limited number of lamp positions.
Features of additional "near" headlights
Another option for amplifying standard optics, which is used in cases when the existing lamps do not cope with their tasks and without obvious weather interference. But even in the choice of such a solution, not everything is obvious. A common problem for motorists who decide to integrate additional low beam headlights is finding a place for installation. Installation manipulations with an easy design change are indispensable.
But that's not all. A problem with many low-beam auxiliary light sources is the lack of clear light separation boundaries. As a result, users complain about the blinding of oncoming cars. Alternatively, the additional low beam headlamps can be replaced with modular optics. In particular, experts recommend using Bi-lenses, characterized by both a clear boundary of the light supply and sufficient illumination.
Additional "fog lights"
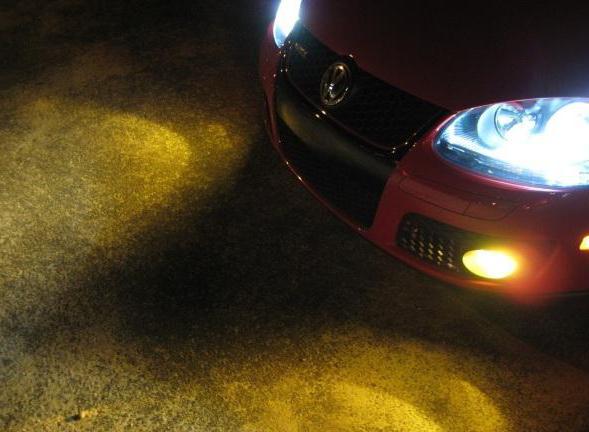
Exactly fog lights most fully reflect the concept of additional optics. Their function demonstrates the radical difference between using one standard light and a combined version - of course, we are talking about operating the car in inclement weather. But in order to achieve the optimal effect, you should choose the right device. First of all, you can safely avoid buying headlights worth less than 3 thousand rubles. Nothing but an attractive design, and that's in best case, they won't provide. Really useful additional fog lamps are characterized by a wide-angle beam distribution. And this is the basic rule of choice. Next, you need to give preference to models with clearly defined upper edges. It is very important that the design provides a downward flow of light with a large oblique angle. Such a device will reduce to a minimum the risk of illumination of oncoming vehicles.
Installation of additional headlights
The main beam is mounted at the front, as already mentioned, if there is a design feasibility. However, they should not block the light. side lights... From a control point of view, it is important to ensure that these headlights work simultaneously with the base high beam and turn off when switching to low beam optics. As for the "fog lights", these additional light headlights are mounted in the front part symmetrically to the longitudinal axis of the machine. You should also observe the standard distances - in height, the gap will be 25 cm from the road, but not higher than 80 cm. If we are talking about off-road vehicles, then such devices should not exceed the level of the low beam. In terms of controlling additional fog lights, it is worth noting that it must maintain performance regardless of the operation of the main low and high beam.
Conclusion
It is advisable to think about the possibility of providing the car with additional optics even in the process of purchasing a car. Major manufacturers provide new models with such light, initially optimizing the design of the mounting slots for them. This solution is offered both as a base option and as an element of extended packages. Also, an additional headlight can be installed on some models that are not focused on such improvements. But in this case, it is recommended to think over, in addition to the technical part, the possibility of on-board wiring. Especially if the lighting equipment is also controlled by third-party systems like alarms with access control. As for the justification of this choice, provided that they are correctly installed, new headlights are unlikely to reduce driving safety, and positive effect will certainly be provided to one degree or another.
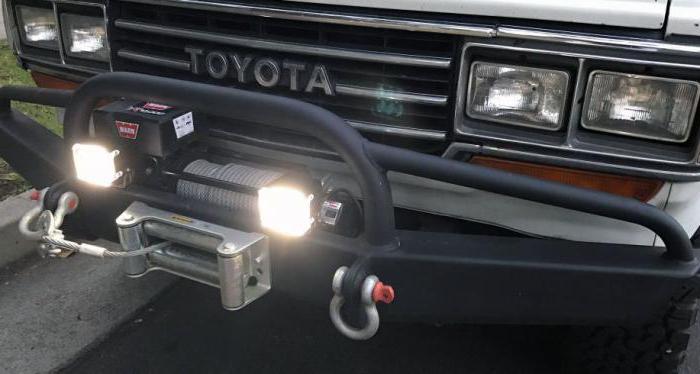
Sometimes, when operating a car in difficult conditions, it is necessary to refine the standard lighting system, most of all this applies to SUVs that are used for their intended purpose, namely for off-road movement. There are several options for improving the design, and in this article we will look at the most common ones and tell you how to connect correctly.
What to consider when choosing a specific option
To optional equipment worked as efficiently as possible and did not disrupt the functioning standard systems, a number of recommendations must be followed:
| Reliability | Off-road vehicles are operated in difficult conditions, therefore, all used light elements must, firstly, be waterproof and dustproof, and secondly, they must withstand vibrations and deformation effects in the form of branches and other objects. Therefore, you should choose solid products that are made reliably, of course, their price will be higher, but they will also serve much longer |
| Practicality | Installing low-beam headlights on the principle “the more, the better” is not the best idea, since the car will more resemble a Christmas tree, and when driving on public roads you will blind oncoming vehicles. In addition, a large number of additional sources of energy consumption can overload the electrical system, which will lead to big problems later. |
| Attractiveness | You should not put anything at all, the headlights should be combined with the rest of the car and be located in the right places, and not anywhere. Modern manufacturers offer many options, so it's easy to find the best one. |
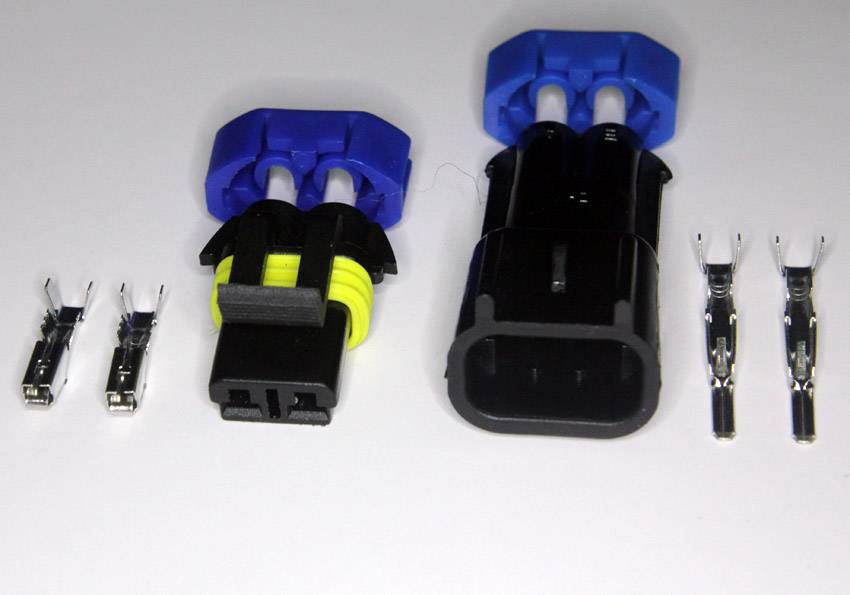
| Installation quality | Everyone should be carefully protected. It is best to use special waterproof connectors, so you can do the job efficiently with your own hands. Do not forget to secure the headlights carefully, as shaking and vibration can weaken the mounts |
Types of products and their features
An additional low beam for a car, selected correctly, will significantly improve the quality of lighting, the most popular today are several options, we will consider them.
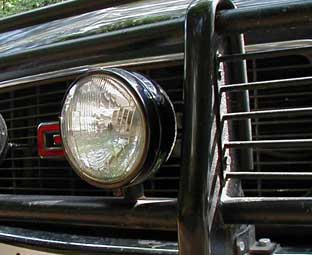
Headlights from MTZ
This option was at one time almost the only one, the following can be noted regarding it:
- Very low cost products, this is without a doubt the most budgetary option among all;
- Unpretentiousness - the headlights were originally created for difficult conditions operation, therefore they withstand any tests well;
- The design uses old-style lamps of 40 wattsthat cost a little, but do not shine very well;
- The appearance of the products will not suit every car..
Halogen headlights
It's over modern version, about which we can say the following:
- Products have more modern appearance they look much better than the first option;
- Halogen bulbs are available and cost a little, plus their quality of light is already much higher;
- Most often, products have a universal purpose. and can operate in the modes of dipped, main beam and side lights, that is, such elements can replace all standard lighting equipment;
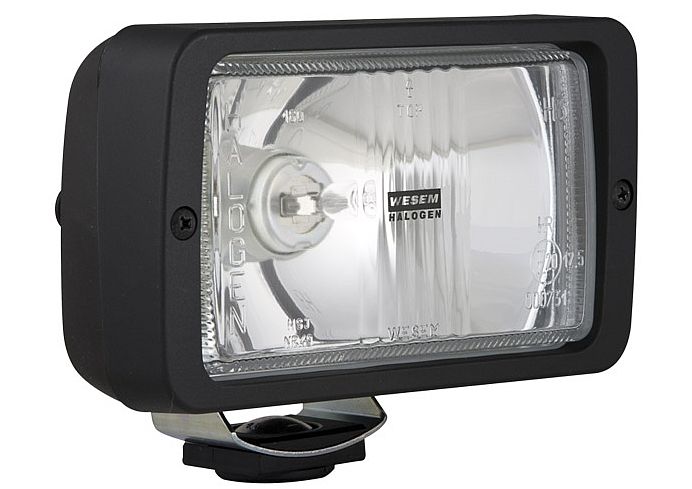
- The cost of products is also quite affordable., we can say that it is the best option from the point of view of the ratio of factors price-quality.
Xenon headlights
This option has appeared relatively recently, but is popular for the following benefits:
- Very good light quality, firstly, the equipment shines very far, and secondly, the light spectrum is as close as possible to daylight, due to which the eyesight is much less tired;
- Most often, products have a very modern design , therefore, they are not only effective, but also attractive, they themselves are capable of giving the car an interesting look;
- Ignition blocks are located in the housing, which greatly simplifies installation, now even a novice motorist can handle the installation;
- Visibility will be improved at least twice, especially if you have halogen lighting.
LED equipment
This option appeared relatively recently, but it is gaining more and more popularity due to the following advantages:
- Energy consumption indicator of this type products several times lowerthan any other analogue, which reduces the load on the electrical equipment of the car;
- Light quality also meets the highest standards and is practically not inferior to xenon, while the elements do not heat up during operation;
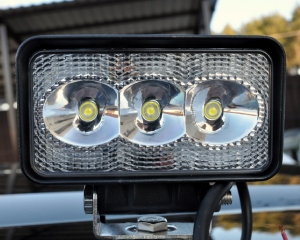
- The service life of LED products ranges from 25 to 30 thousand hours, which is ten times longer than any other optionthis is especially important. Also, there are no fragile elements in the design - a filament and a glass bulb, which is also a huge advantage;
- You can also use such an option as an LED beam, it consists of several high-power lamps arranged in a row. Such designs provide best quality lighting.
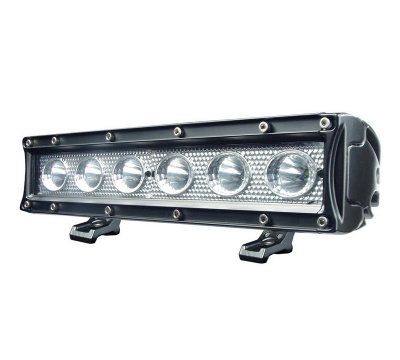
Important!
This option has one big disadvantage - high cost, but if you value quality, then better solution can not found.
Everything is quite simple, nevertheless it is worth talking about the work:
- First of all, choose where to put the structure - in front of the frame or bumper or on top of expeditionary trunk;
- For connection, wires in reliable insulation are used (). The system must necessarily include 15 Amp fuses, and additional relay... It is also necessary to install an additional switch in the cabin, the whole structure is shown in the diagram below.
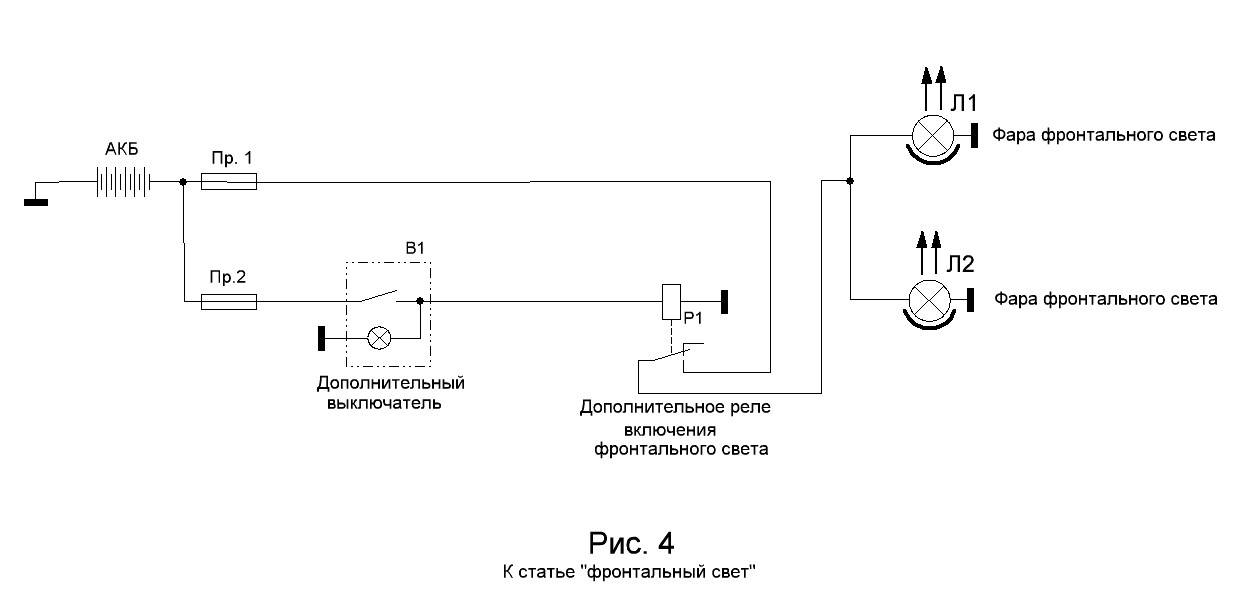
The installation of additional low beam headlights is done as follows: first, the headlights are attached and the wires are laid so that they are hidden, then all the required connections are connected, and the design is checked for operability, as you can see, the instructions are simple and clear.
Output
The connection work is simple, the main thing is to choose a reliable option and lay the cable so as to exclude its damage. The video in this article will help you understand the issue even better.